So löschen Sie Orthopedic Indications
Veröffentlicht von: Ahmad Al HaririErscheinungsdatum: September 25, 2024
Müssen Sie Ihr Orthopedic Indications-Abonnement kündigen oder die App löschen? Diese Anleitung bietet Schritt-für-Schritt-Anleitungen für iPhones, Android-Geräte, PCs (Windows/Mac) und PayPal. Denken Sie daran, mindestens 24 Stunden vor Ablauf Ihrer Testversion zu kündigen, um Gebühren zu vermeiden.
Anleitung zum Abbrechen und Löschen von Orthopedic Indications
Inhaltsverzeichnis:

Anweisungen zum Abbestellen von Orthopedic Indications
Das Abbestellen von Orthopedic Indications ist einfach. Befolgen Sie diese Schritte je nach Gerät:
Kündigen des Orthopedic Indications-Abonnements auf dem iPhone oder iPad:
- Öffnen Sie die App Einstellungen.
- Tippen Sie oben auf Ihren Namen, um auf Ihre Apple-ID zuzugreifen.
- Tippen Sie auf Abonnements.
- Hier sehen Sie alle Ihre aktiven Abonnements. Suchen Sie Orthopedic Indications und tippen Sie darauf.
- Klicken Sie auf Abonnement kündigen.
Kündigen des Orthopedic Indications-Abonnements auf Android:
- Öffnen Sie den Google Play Store.
- Stellen Sie sicher, dass Sie im richtigen Google-Konto angemeldet sind.
- Tippen Sie auf das Symbol Menü und dann auf Abonnements.
- Wählen Sie Orthopedic Indications aus und tippen Sie auf Abonnement kündigen.
Orthopedic Indications-Abonnement bei Paypal kündigen:
- Melden Sie sich bei Ihrem PayPal-Konto an.
- Klicken Sie auf das Symbol Einstellungen.
- Navigieren Sie zu „Zahlungen“ und dann zu Automatische Zahlungen verwalten.
- Suchen Sie nach Orthopedic Indications und klicken Sie auf Abbrechen.
Glückwunsch! Ihr Orthopedic Indications-Abonnement wird gekündigt, Sie können den Dienst jedoch noch bis zum Ende des Abrechnungszeitraums nutzen.
So löschen Sie Orthopedic Indications - Ahmad Al Hariri von Ihrem iOS oder Android
Orthopedic Indications vom iPhone oder iPad löschen:
Um Orthopedic Indications von Ihrem iOS-Gerät zu löschen, gehen Sie folgendermaßen vor:
- Suchen Sie die Orthopedic Indications-App auf Ihrem Startbildschirm.
- Drücken Sie lange auf die App, bis Optionen angezeigt werden.
- Wählen Sie App entfernen und bestätigen Sie.
Orthopedic Indications von Android löschen:
- Finden Sie Orthopedic Indications in Ihrer App-Schublade oder auf Ihrem Startbildschirm.
- Drücken Sie lange auf die App und ziehen Sie sie auf Deinstallieren.
- Bestätigen Sie die Deinstallation.
Hinweis: Durch das Löschen der App werden Zahlungen nicht gestoppt.
So erhalten Sie eine Rückerstattung
Wenn Sie der Meinung sind, dass Ihnen eine falsche Rechnung gestellt wurde oder Sie eine Rückerstattung für Orthopedic Indications wünschen, gehen Sie wie folgt vor:
- Apple Support (for App Store purchases)
- Google Play Support (for Android purchases)
Wenn Sie Hilfe beim Abbestellen oder weitere Unterstützung benötigen, besuchen Sie das Orthopedic Indications-Forum. Unsere Community ist bereit zu helfen!
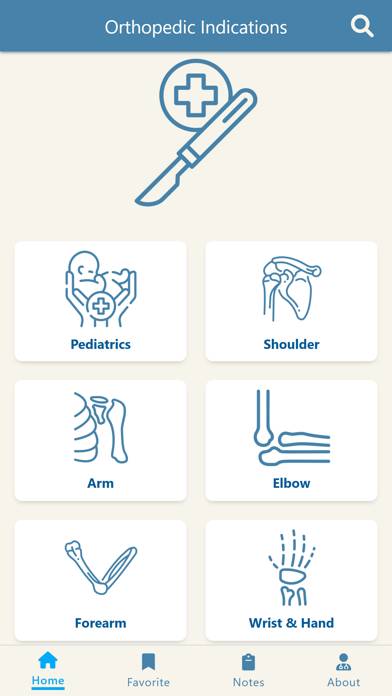
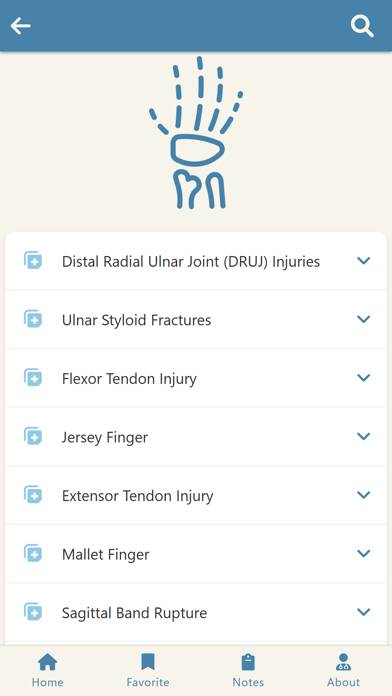
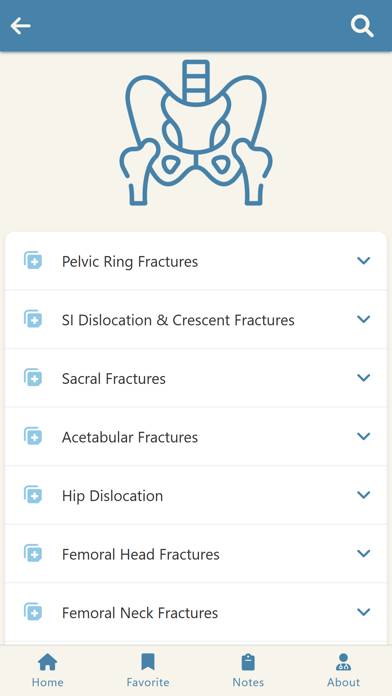
Was ist Orthopedic Indications?
Peroneal tendon dislocations:
The Orthopedic Indications app contains many clinical cases and fractures distributed according to the region and the nature of the disease.
The cases were classified according to the region to:
- The shoulder
- Upper arm
- Attached
- Forearm
- Wrist and hand
- Pelvis and Hip
- Thig