How to Delete Audio Noise Removal
Published by: Kyoung hee parkRelease Date: January 10, 2024
Need to cancel your Audio Noise Removal subscription or delete the app? This guide provides step-by-step instructions for iPhones, Android devices, PCs (Windows/Mac), and PayPal. Remember to cancel at least 24 hours before your trial ends to avoid charges.
Guide to Cancel and Delete Audio Noise Removal
Table of Contents:

Audio Noise Removal Unsubscribe Instructions
Unsubscribing from Audio Noise Removal is easy. Follow these steps based on your device:
Canceling Audio Noise Removal Subscription on iPhone or iPad:
- Open the Settings app.
- Tap your name at the top to access your Apple ID.
- Tap Subscriptions.
- Here, you'll see all your active subscriptions. Find Audio Noise Removal and tap on it.
- Press Cancel Subscription.
Canceling Audio Noise Removal Subscription on Android:
- Open the Google Play Store.
- Ensure you’re signed in to the correct Google Account.
- Tap the Menu icon, then Subscriptions.
- Select Audio Noise Removal and tap Cancel Subscription.
Canceling Audio Noise Removal Subscription on Paypal:
- Log into your PayPal account.
- Click the Settings icon.
- Navigate to Payments, then Manage Automatic Payments.
- Find Audio Noise Removal and click Cancel.
Congratulations! Your Audio Noise Removal subscription is canceled, but you can still use the service until the end of the billing cycle.
How to Delete Audio Noise Removal - Kyoung hee park from Your iOS or Android
Delete Audio Noise Removal from iPhone or iPad:
To delete Audio Noise Removal from your iOS device, follow these steps:
- Locate the Audio Noise Removal app on your home screen.
- Long press the app until options appear.
- Select Remove App and confirm.
Delete Audio Noise Removal from Android:
- Find Audio Noise Removal in your app drawer or home screen.
- Long press the app and drag it to Uninstall.
- Confirm to uninstall.
Note: Deleting the app does not stop payments.
How to Get a Refund
If you think you’ve been wrongfully billed or want a refund for Audio Noise Removal, here’s what to do:
- Apple Support (for App Store purchases)
- Google Play Support (for Android purchases)
If you need help unsubscribing or further assistance, visit the Audio Noise Removal forum. Our community is ready to help!
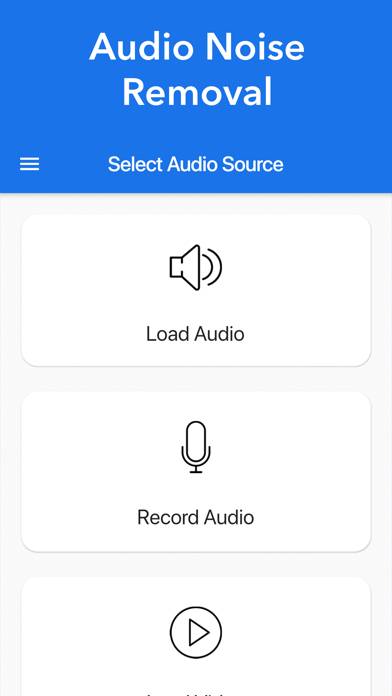
What is Audio Noise Removal?
Audio noise reduction:
- Remove and reduce noise from your audio.
- Remove and reduce noise from your video.
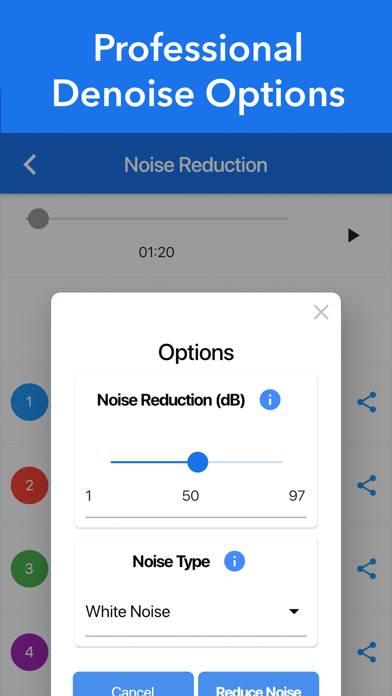
- Professional noise removal options including noise reduction strength and noise type.
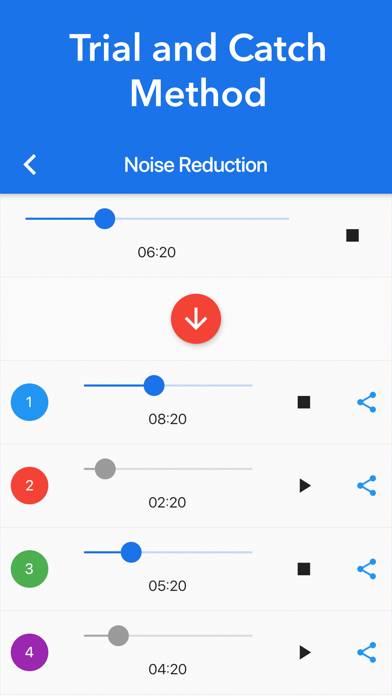
- Supports trial and catch approach. Remove noise until you have the most satisfying result.
- Supports every existing audio and video type including mp3, mp4, m4a, mov, wav, avi and etc.
- Save and share the noise removed audio and video.