How to Delete IPage 2
Published by: AppsOnIce LLCRelease Date: April 12, 2019
Need to cancel your IPage 2 subscription or delete the app? This guide provides step-by-step instructions for iPhones, Android devices, PCs (Windows/Mac), and PayPal. Remember to cancel at least 24 hours before your trial ends to avoid charges.
Guide to Cancel and Delete IPage 2
Table of Contents:
IPage 2 Unsubscribe Instructions
Unsubscribing from IPage 2 is easy. Follow these steps based on your device:
Canceling IPage 2 Subscription on iPhone or iPad:
- Open the Settings app.
- Tap your name at the top to access your Apple ID.
- Tap Subscriptions.
- Here, you'll see all your active subscriptions. Find IPage 2 and tap on it.
- Press Cancel Subscription.
Canceling IPage 2 Subscription on Android:
- Open the Google Play Store.
- Ensure you’re signed in to the correct Google Account.
- Tap the Menu icon, then Subscriptions.
- Select IPage 2 and tap Cancel Subscription.
Canceling IPage 2 Subscription on Paypal:
- Log into your PayPal account.
- Click the Settings icon.
- Navigate to Payments, then Manage Automatic Payments.
- Find IPage 2 and click Cancel.
Congratulations! Your IPage 2 subscription is canceled, but you can still use the service until the end of the billing cycle.
How to Delete IPage 2 - AppsOnIce LLC from Your iOS or Android
Delete IPage 2 from iPhone or iPad:
To delete IPage 2 from your iOS device, follow these steps:
- Locate the IPage 2 app on your home screen.
- Long press the app until options appear.
- Select Remove App and confirm.
Delete IPage 2 from Android:
- Find IPage 2 in your app drawer or home screen.
- Long press the app and drag it to Uninstall.
- Confirm to uninstall.
Note: Deleting the app does not stop payments.
How to Get a Refund
If you think you’ve been wrongfully billed or want a refund for IPage 2, here’s what to do:
- Apple Support (for App Store purchases)
- Google Play Support (for Android purchases)
If you need help unsubscribing or further assistance, visit the IPage 2 forum. Our community is ready to help!
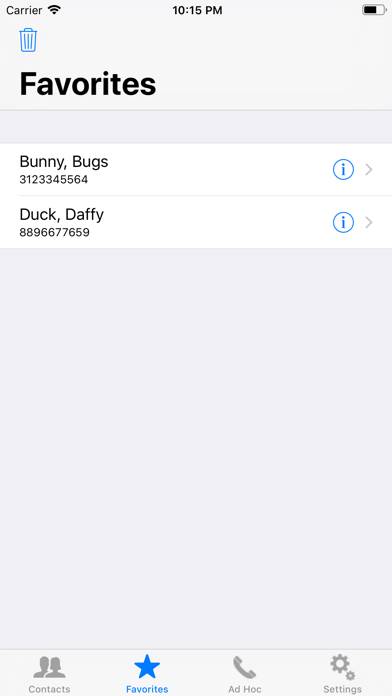
What is IPage 2?
Ipage wordpress tutorial 2023 step-by-step for beginners:
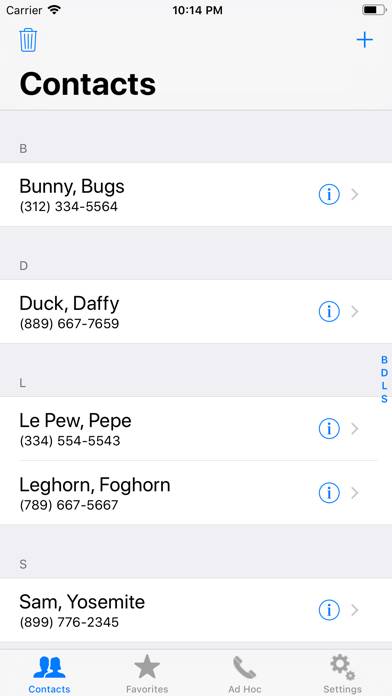
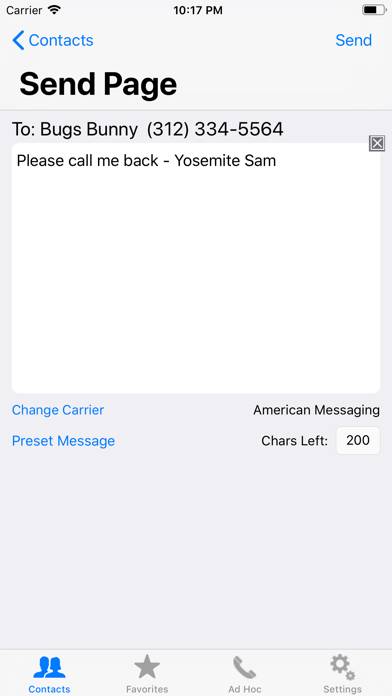
One major difference from the original iPage is that in iPage 2 a carrier must be assigned to each individual contact. Assigning carriers can be done:
1. At the time of entering/editing a contact's information
2. At the time of sending a page
3. In bulk via 'Settings' (Settings->Carriers->Manage)
4. Via CSV file import.
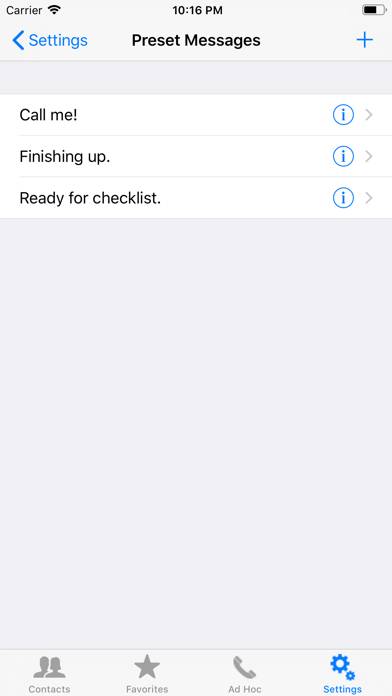
The User Guide (Settings -> Documentation -> UserGuide) explains these options.
DISCLAIMER: iPage 2 requires an internet connection and sends information to SNPP servers that are not in its control. Therefore, the user of iPage 2 is solely responsible for verifying that the pages sent from this app are received in a timely manner. The user will not hold iPage 2 or its developers responsible for complications that arise becasue of someone not receiving a page as desired.